On this page
Clip in hair extensions add length or fullness with removable pieces that fasten beneath your natural hair. For a first set, concentrate on a close color match, a comfortable amount of hair and placement that your top layers can cover. You do not need to fit every piece simply because it came in the pack.
The best first wear is a quiet trial at home. Give yourself time to see the back, move your head and take the pieces out again. Learning what a clip and weft feel like is much easier without the pressure of leaving for an event.

What you are actually clipping into your hair
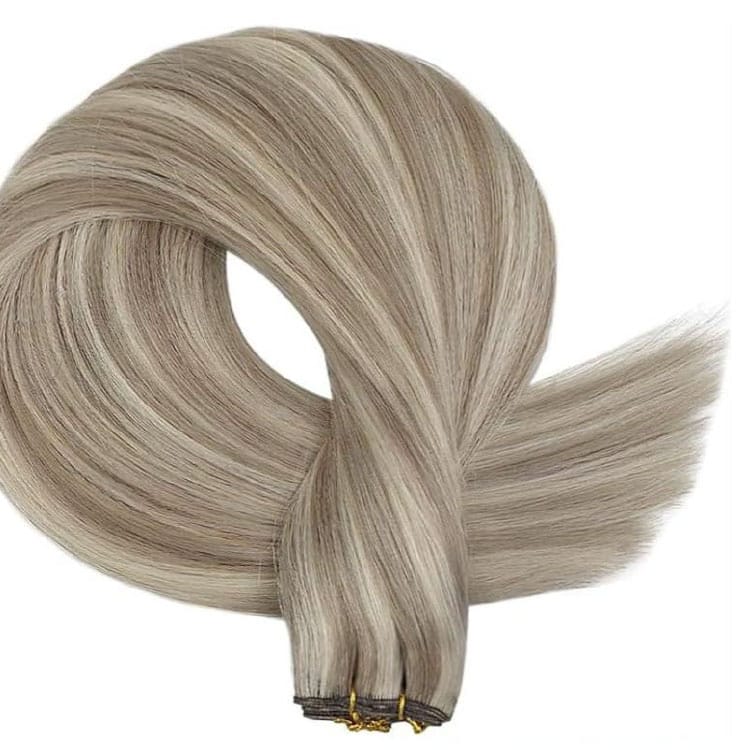
A conventional clip-in piece has a curtain of hair attached to a sewn top edge. Small clips sit along that edge. Opening and closing those clips holds the piece against a section of your own hair. The flowing hair covers the attachment only after you release the natural hair above it.
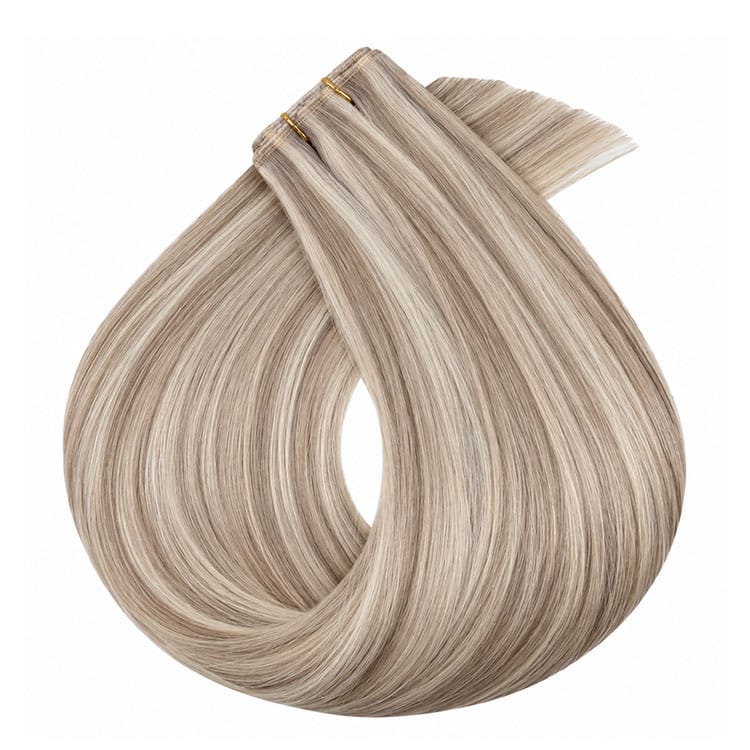
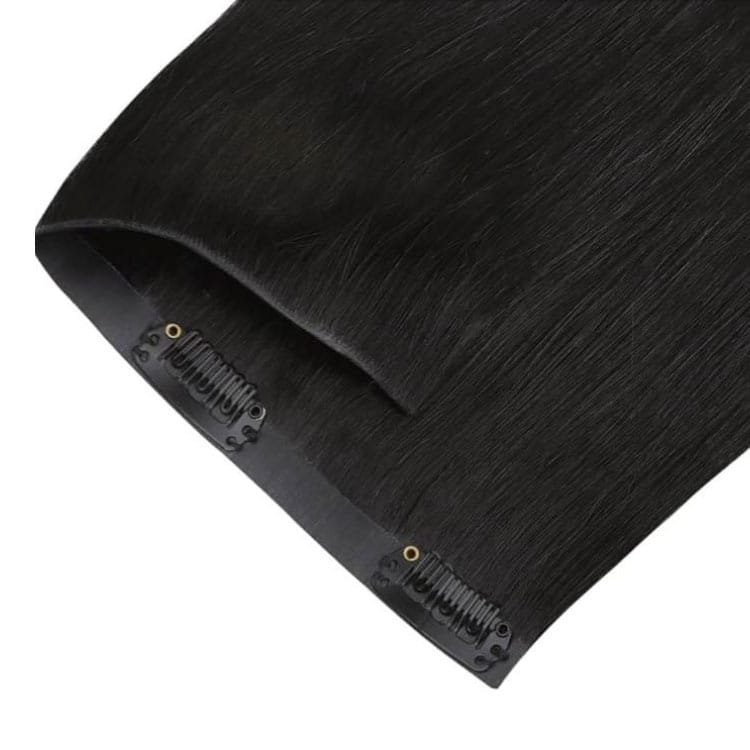
The Clip In Hair Extensions listing describes sewn human-hair wefts with multiple metal clips. There are also PU versions, where a flatter polymer base carries the hair and clips. That distinction is about the base construction; both still need suitable placement and coverage.
Look at a product from the back as well as the front. Check where the clips sit, how wide the piece is and whether the intended arrangement makes sense for your head. A photograph of long, shiny hair does not show these details, even though they affect almost every wear session.
Plan one small practice session
Start with dry, gently detangled hair and a clear view in a mirror. Lay the pieces out by width so you can tell them apart without repeatedly opening the clips. Handle each clip gently and check that it opens and closes properly before it touches your hair.
Use the placement instructions supplied with the set. For a first trial, a modest section at the back can show you how the base sits. Keep the piece beneath enough natural hair to cover the top edge. If you cannot conceal it in a relaxed position, move it rather than covering it with an extra heavy section of extensions.
You should be able to take the practice piece out without tugging. Release every clip fully before lifting the piece away. If a clip has caught a few strands, stop and free them gently. Pulling the entire weft down is a poor shortcut because the trapped hair takes the force.
Match the lengths that will sit together
A good match is often found near your own mid-lengths and ends, where the extensions will be most visible. Hold a swatch beside that area in indirect daylight. Looking only at the roots can leave you with added lengths that look too dark or too cool beneath the rest of your hair.
Consider variation within your own hair. Highlights, a darker root or a faded color can mean one solid shade looks flat. A stylist can help you decide whether mixed pieces or a different color pattern will blend more naturally. Do not assume two numbers from different sellers describe an identical shade.
The hair color chart is useful for narrowing choices, while an actual swatch helps you check tone and brightness away from a screen. If you are asking for advice using photographs, avoid filters and include more than one view. A single flash photograph can make both your hair and the sample look misleading.
Use placement to create the shape you want
Fullness and length call for different emphasis. To make the ends look thicker, you may need hair distributed around the lower shape rather than several bulky pieces near the crown. To add length, the added hair has to meet and soften the visible line where your natural hair finishes.
Leave enough space between pieces for your own hair to lie naturally. Crowding several bases into one small area can create a raised edge that remains visible even after brushing. Wider pieces should also follow a suitable part of the head rather than being forced around a curve they cannot comfortably follow.
Side pieces deserve particular care. They are nearer the hairline, where coverage may be lighter. Check them while turning your head and moving the front sections behind your ears. A piece that looks hidden from straight ahead may show from the side in an ordinary conversation.
Check the blend before adding more hair
Look at the join between your natural ends and the extensions. If there is a clear shelf, extra length alone will not remove it. The issue may be a blunt haircut, a difference in texture or too little hair in the place that needs coverage. A professional blending trim can help, but it should be planned with the pieces fitted correctly.
Use a back view in a second mirror or a simple photograph. Keep the lighting ordinary and the hair resting naturally. A dramatic pose with the hair pulled over one shoulder can hide the very area you need to judge.
Move through your usual gestures: look down, turn sideways and tuck a front section back. Then try the hairstyle you expect to wear. If the base appears when you make that style, adjust the position or choose a lower, looser version. You should not have to hold your head in one position to keep the attachment covered.
A first-set checklist that is worth using
| What you notice | What to check | Sensible next step |
|---|---|---|
| A ridge beneath the top layer | Crowded placement or insufficient cover | Move or remove a piece and check again |
| Darker-looking ends | Shade selected from roots alone | Compare a swatch beside the mid-lengths |
| A visible line at your own ends | Haircut, texture or distribution mismatch | Ask about a blending plan before adding length |
| A piece that shifts | Clip function and the placement instructions | Remove it and reassess the fit |
| Pulling or discomfort | Too much load or unsuitable positioning | Take the pieces out and get advice |
Change one thing at a time. Moving a piece and adding a second one simultaneously can make it hard to understand what improved the result. A short trial with fewer pieces teaches you more about your own coverage than repeatedly rebuilding the whole style.
Styling without damaging the base
Ruiteng describes its human-hair clip-ins as suitable for curling, straightening and coloring. That does not make the clips, stitching or PU base suitable for direct high heat. Keep styling tools on the hair lengths and follow the instructions for the specific product and finish.
Test a small hidden section before styling an entire set. The result depends on the hair’s prior processing and the tool, so there is no useful universal temperature that suits every set. Avoid repeatedly pressing the same section simply because the first pass did not give the result you expected.
If your own hair and the extensions have different textures, try a modest shared finish rather than forcing both into a dramatic new shape. A soft bend or a careful blending trim may make the join less obvious with less effort. You can then judge whether a different texture would suit future purchases better.
Take them out before the day becomes the night
Remove temporary clip-ins before sleeping. Work patiently, releasing the clips rather than pulling the pieces free. Keep the removed wefts together by position if that helps you repeat a good arrangement next time.
Detangle the lengths from the ends upward while supporting the piece above the section you are working on. If they need washing, use the maker’s instructions for removable hair and allow the set to dry fully before putting it away. A damp bundle in a closed bag is not ready for storage.
Close the clips for storage and keep the hair in a clean case or suitable container where the lengths will not be crushed. Keep a note of the shade and length with the set. The packaging label is useful later if you need another piece or want to explain what you already own.
Make comfort part of the result
Extra fullness should not require putting up with a persistent pulling sensation. If a placement feels uncomfortable, remove it and reassess how much hair you are adding and where it is supported. A thin or sparse area does not become suitable for a clip just because it hides well in a photograph.
The American Academy of Dermatology has advice on preventing damage from extensions. Its general guidance is useful alongside the instructions for your exact clip-in set. If you have scalp irritation or hair loss concerns, a dermatologist can assess those concerns separately from the styling choice.
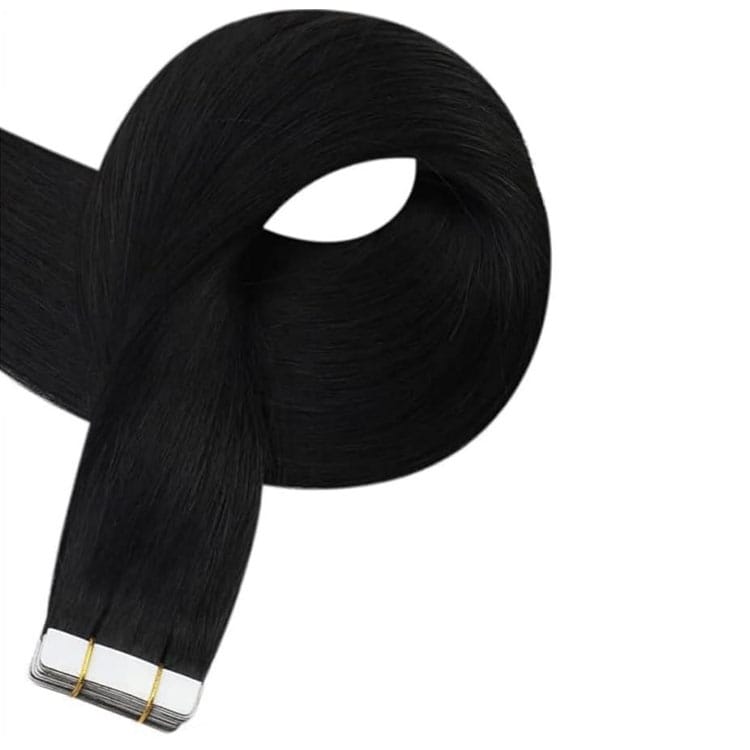
For product help, send a daylight photograph and describe whether you want fuller ends, extra length or both. You can compare the sewn format with Machine Injection PU Clip In Hair before asking about an appropriate shade and arrangement.
Frequently asked questions
Do I have to use the full set?
No. The pieces are tools for building a blend, and the useful number depends on your own hair and the result. A smaller selection may give enough fullness. If a long style exposes a sharp line at your natural ends, seek advice about the overall blend rather than simply wearing fewer or more pieces.
Can I put clip-ins close to my parting?
Only where your own hair can cover the base and the position remains comfortable. The visible part and crown are common places for a base to show. Follow the placement guidance for the set and check the result from above and behind.
Should I wash them every time I wear them?
Follow the care instructions and respond to actual buildup. Removable hair does not have to follow the same washing schedule as your scalp. Washing unnecessarily can add handling, while leaving heavy product on the hair makes the next styling session harder.
Will a seamless base hide under every hairstyle?
No. Seamless usually describes a flatter or less bulky construction. The base can still become visible if there is little covering hair or if the hairstyle lifts it into view. Check your normal movements and hairstyles before deciding that a base suits you.
What should I do if a clip catches my hair?
Stop pulling, open the clip fully and gently free the trapped strands. If the piece or clip is damaged, leave it out until it has been checked. Use the form below if you need help identifying a listed product format or replacement option.